Spring Boot Environment Switch Made Easy
Tired of changing the *.properties file spring.profiles.active=dev to prod every single time before deployment?
You are NOT alone!
It is OK to stand up and say, enough!

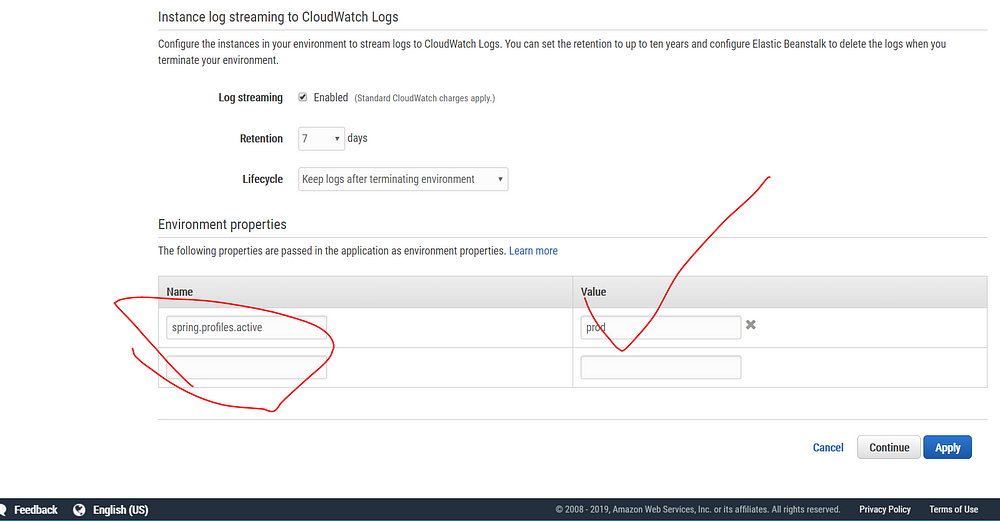
Step 3 — Setup the Production environment to automatically call PROD profile.

That’s right baby! I go through a bunch of documents and StackOverFlow posts just to find out we only need one simply setting.
PS: Depending on your AWS Beanstalk environment version, the old posts suggesting SPRING_PROFILES_ACTIVE(Linux environment style) didn’t work. The reason being Amazon aws apparently prefer this style and change them overnight. Yay thanks to me now you probably just dodge a bullet of half and hour.
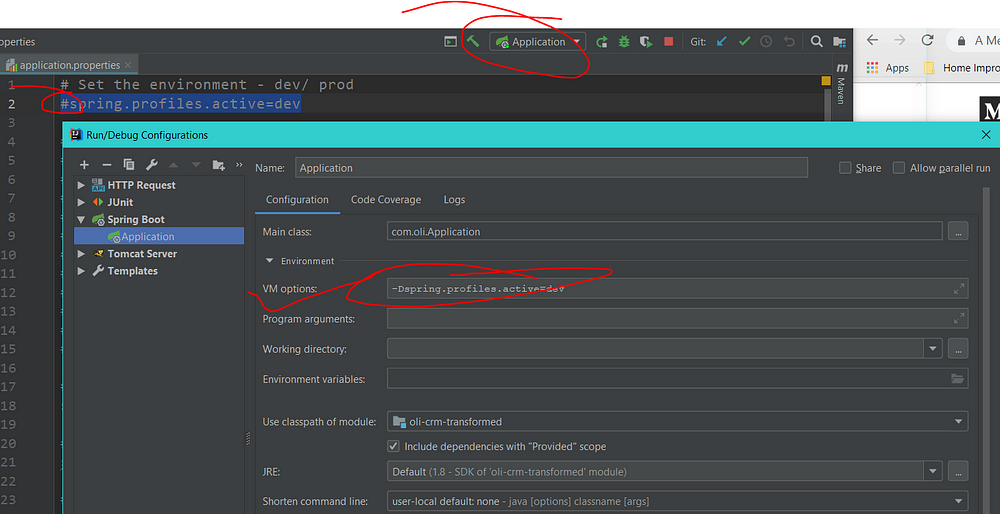
Step 2 — Setup the Development environment to automatically call DEV profile.
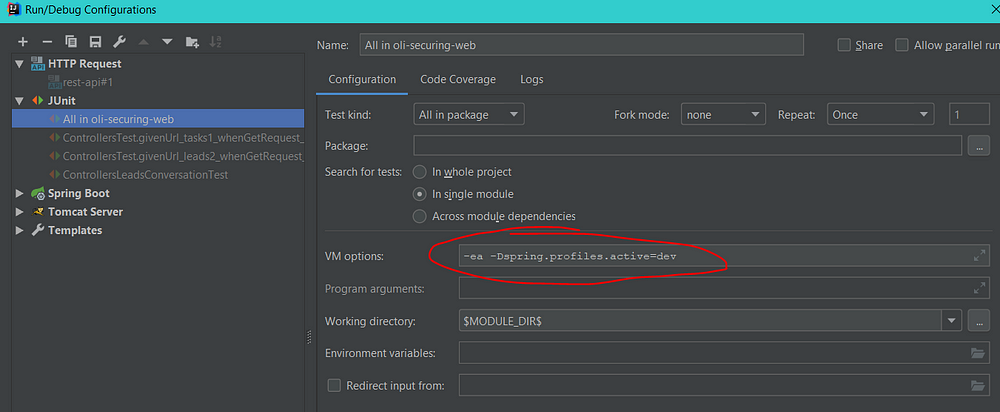
The key is to set the JVM options: -Dspring.profiles.active=dev

PS: there could be a pitfall depending on your IDE, as I was caught off-guard seeing all the tests failed! But it turns out that I need to set the JVM options for every single one of the tests too!

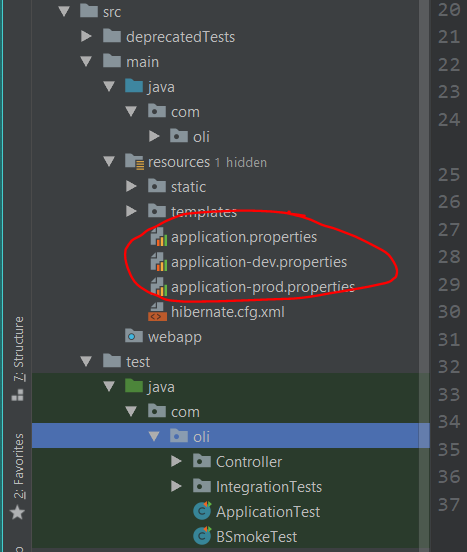
Step 1 — Setup a couple of properties file for each and every environment.

- Keep your common settings, just leave them right where they are.
- Migrate dev settings (e.g.Turn on hibernate sql print; Turn off the view engine cache to see instant change as you write your code) to the application-dev.properties.
- Migrate prod settings (e.g. Turn on all sort of caches. Jack up the number of connections in pool.) to the application-prod.properties.
Alright, now you are all set.
Feel free to comment below share your thoughts experience.
For more technical articles feel free to follow.
No comments:
Post a Comment